HOW TO INSTALL KALI LINUX VERSION 2017.1
HOW TO INSTALL KALI LINUX VERSION 2017.1
Introduction
In this article we are going to discuss on How to Install Kali Linux Version 2017.1 with Screenshots.
Kali Linux is famous for it’s ethical hacking feature. It’s completely based on Ubuntu and Debian flavor of Linux. It was developed by Offensive Security on year 13th of March 2013. The first released version of Kali Linux was Kali 1.0.0. Here we are Installing Kali Linux Version 2017.1 which is released on 25th April 2017. You will able to find Both 32 Bit & 64 Bit architecture Operating System on below mentioned Link.
To Download Kali Linux Version 2017.1 Click Here
For more Information related Kali Linux Visit Official Website i.e. https://www.kali.org
Follow the below steps to Install Kali Linux 2017.1
Like any other Operating System Installation just enter the OS DVD in DVD-ROM and then start the system and boot from DVD-ROM. The first screen you will able to see during Kali Linux installation is shown below. Here you just select Graphical Install and Press Enter.
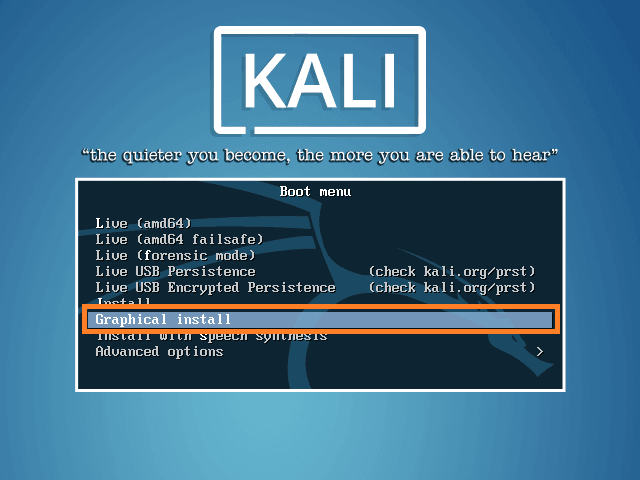
Start Kali Linux Installation
Now select your preferred Language, Here I am selecting English. Then Click on Continue for further step.

Select Language
Select Country, Here I am selecting United States. then click on Continue.
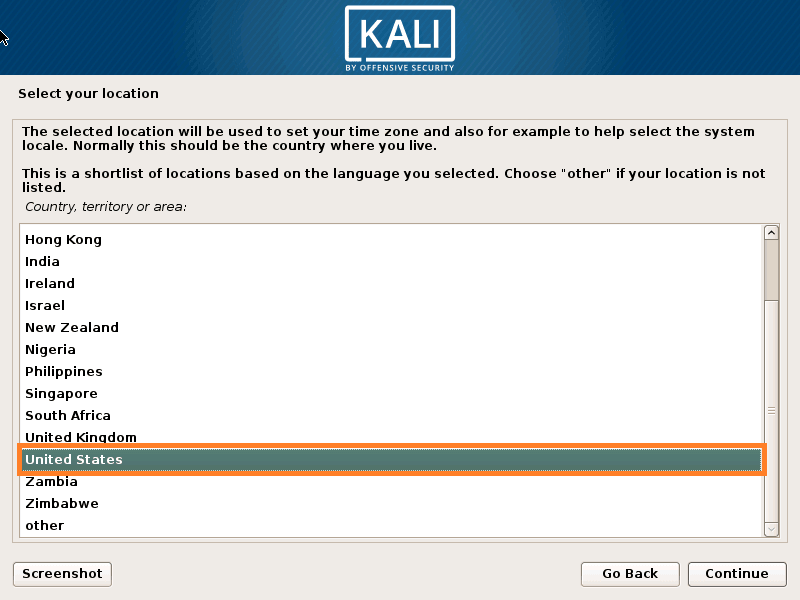
Select Country
Set keyboard Language like here I am selecting American English. Then click on Continue.

Select Keyboard Language
As you can see on image below the installation process is going on.
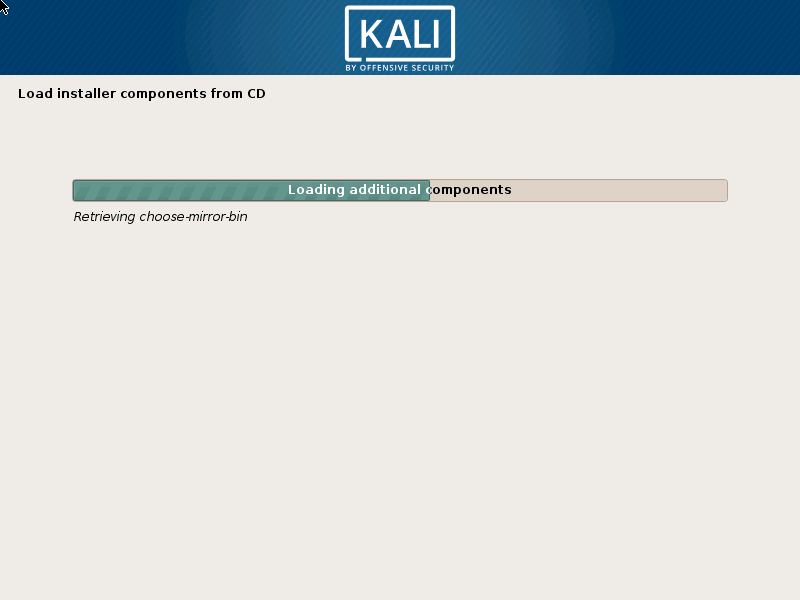
Kali Linux Installation on Progress
Now you have to set a Hostname for your Kali Linux system. You can give any name as per your choice and requirement. Then click on Continue.
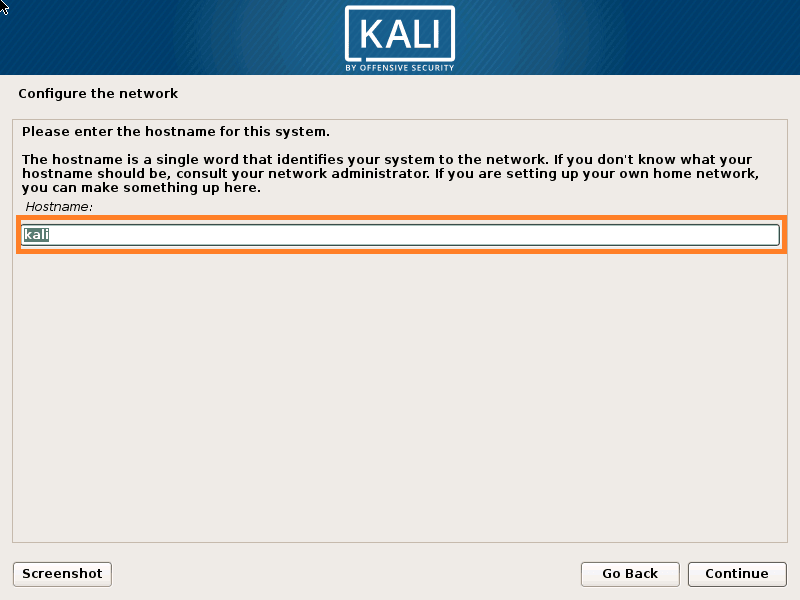
Set Hostname for Kali Linux
Set a domain name for eg: elinuxbook.com Here I am not giving any domain name but you can set your own domain name as per your requirement. Then Click on Continue.
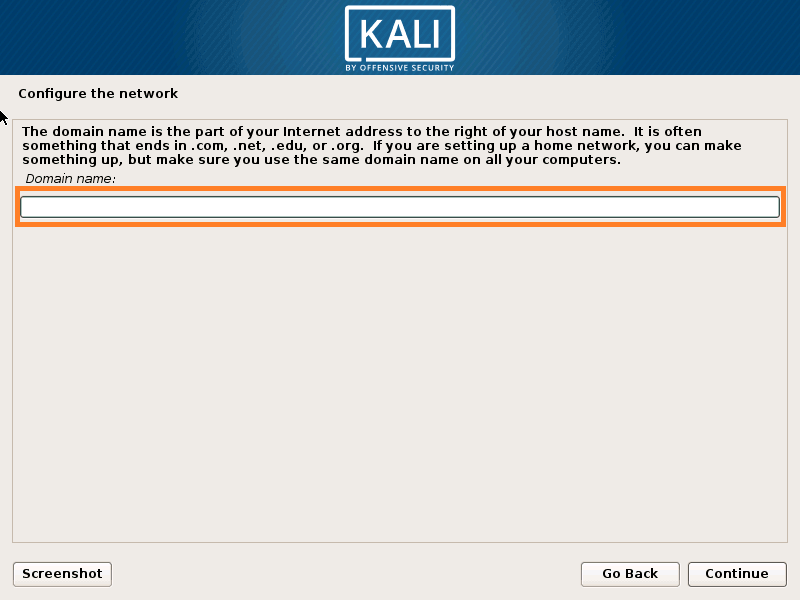
Set Domain Name for Kali Linux
Set root Password. Recommended you to set a Strong Password for root User. Click on Continue.
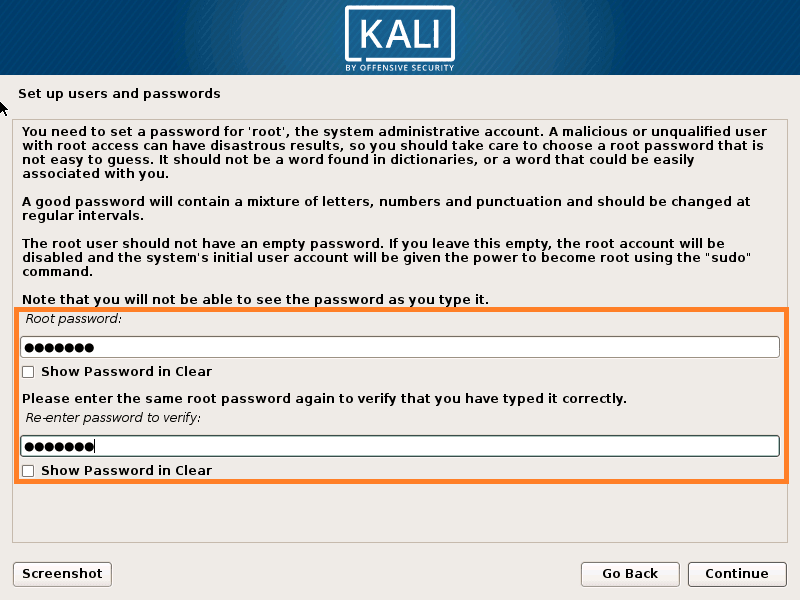
Set root Password for Kali Linux
Set Time-Zone as per your Zone and click on Continue.
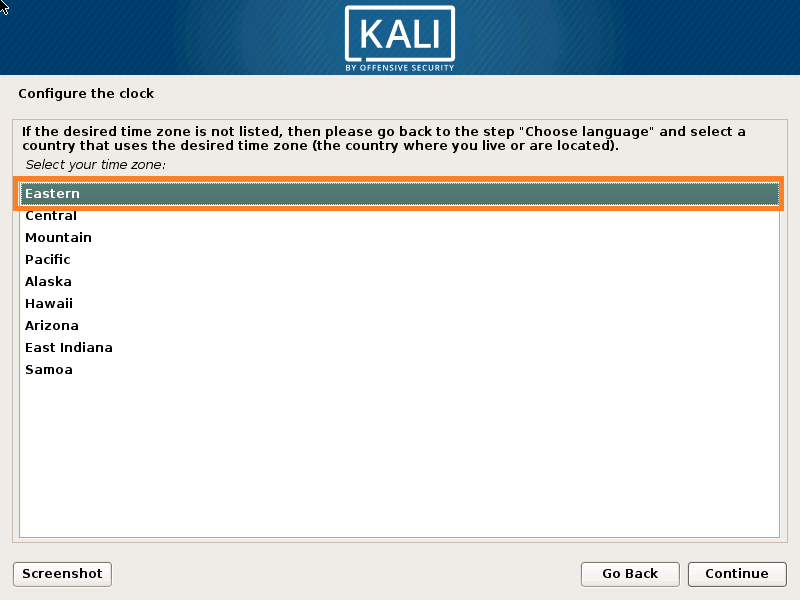
Select Timezone of your Location
Now It’s time to Create Partition. Here I am selecting Manual option to create Partition manually, So that your concept will get more clear. then Click on Continue to go for Further Step.
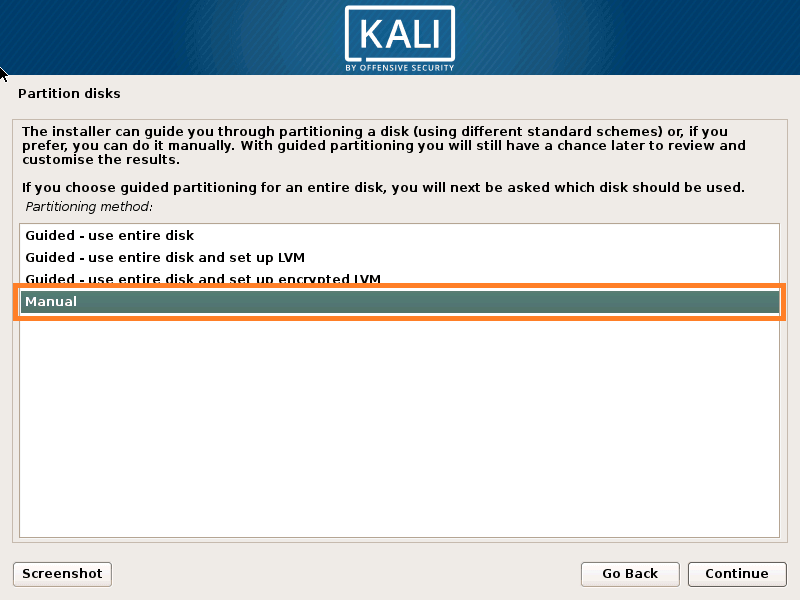
Manual Disk Partitioning
Now Select your connected Harddisk, Here I am selecting Vmware Virtual harddisk as I am installing the Kali Linux in Vmware Workstation. Then Click on Continue.

Select the Disk for Partitioning
Now select Yes to allow the system to Format the harddisk and proceed for further Installation process. Then Click on Continue.

Disk Partitioning for Kali Linux
Now you will able to see the Free Space in your Harddisk, So just select the Free Space Harddisk and press on Continue to start the Kali Linux Installation Process.

Select Free Space to Create Partition
Here you select Create a New Partition if you are going to create Partitions manually OR select Automatically Partition the free space to allow the system to use your harddisk and create all partition’s automatically. Then Click on Continue.

Create a New Partition for Kali Linux
Also Read :
- STEP BY STEP INSTALLATION OF CENTOS 7 WITH SCREENSHOTS
- HOW TO INSTALL VMWARE PLAYER 12 ON UBUNTU 16.04
- HOW TO INSTALL WORDPRESS 4.6.1 WITH LAMP STACK ON UBUNTU 16.04
Now give required size for the partition, here I am giving 15 GB for my root partition. then click on Continue.
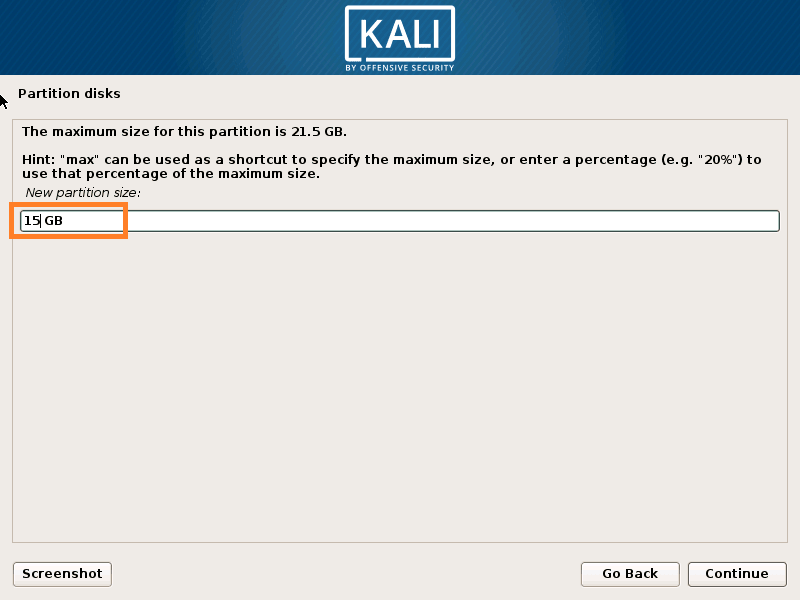
Assign size for New Partition
Here you have to select the type of partition. We have two options i.e. Primary Partition and Logical Partition. The difference between Primary and Logical Partition is Primary partition is a partition where you can install the operating system and Logical partition is to store your data. So I am selecting Primary Partition Type. Click on Continue.

Select Partition Type
Now select where you want create the new partition. We have two options i.e. 1) Beginning & 2) End. If you select Beginning then the partition will created at the beginning of the available space of the harddisk. Here I am selecting Beginning. then click in Continue.
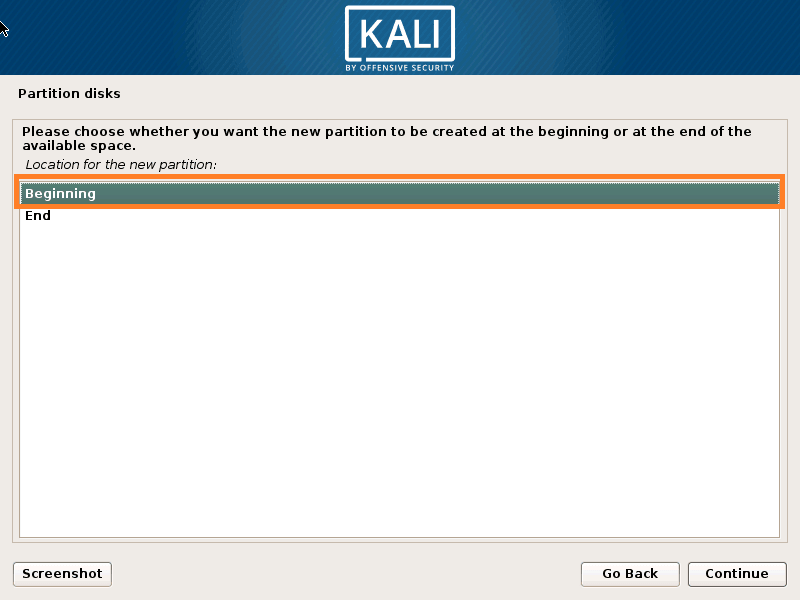
Select Partition for New Partition
As you can see below our partition created with the below details :
- Filesystem – Ext4
- Mount Point – /
If you want to change some settings then just double click on that option to which you want to change then you will get more options related to that option. For example if you want to change the file system from ext4 to ext3 then just double click on Ext4 Journaling file system and then you will get more list of file systems like ext2, ext3, swap..etc..then you can just select your choice and press Enter. After all changes Click on Continue to continue the Installation process.

Partition Created
To save the created partition select Done settings up the partition and click on Continue.
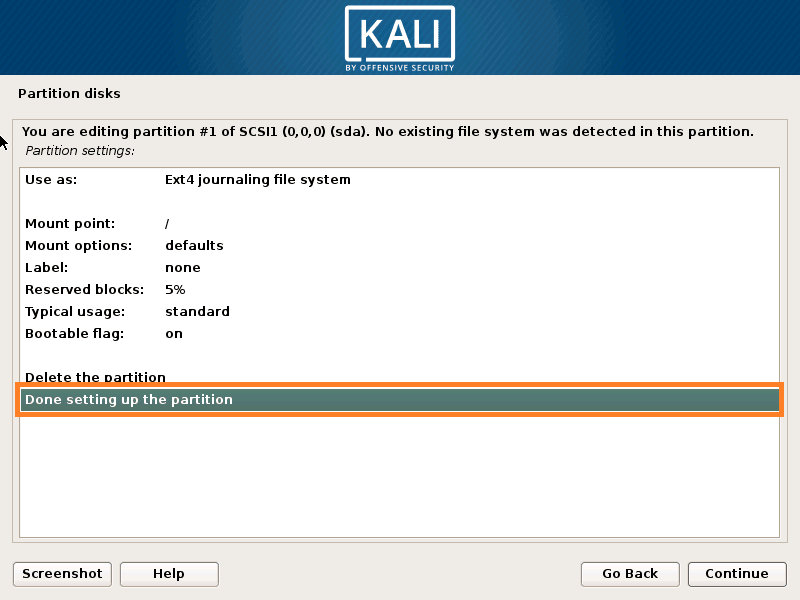
Finish Partition Creation
As you can see on snap below / partition created successfully (Highlighted in Blue color). Now I am going to create a Swap partition for that we have to follow the same steps as above but the difference is you have to select Swap as a File System.
So let’s create the a swap partition in Kali Linux. For that select Available Free Space in the Harddisk and Click on Continue.
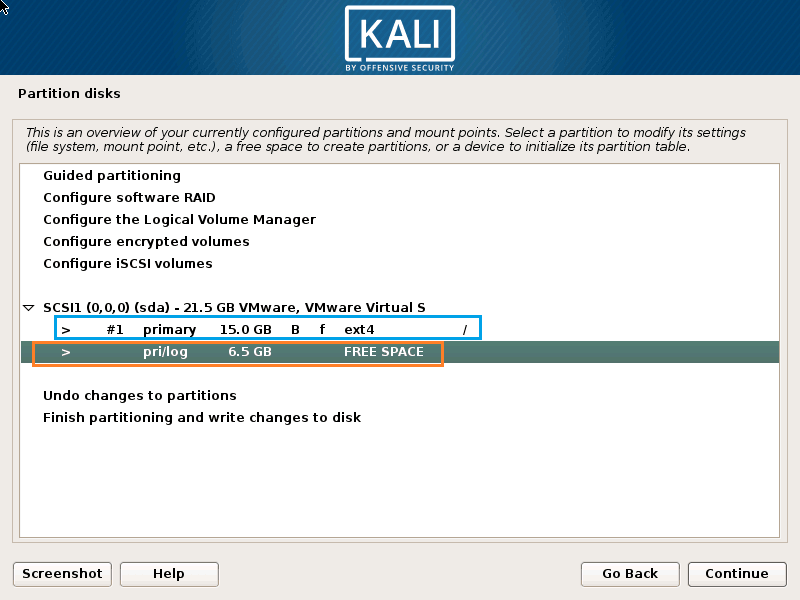
Select free Space to create a New Partition
Click on Create a New Partition. Then click on Continue.
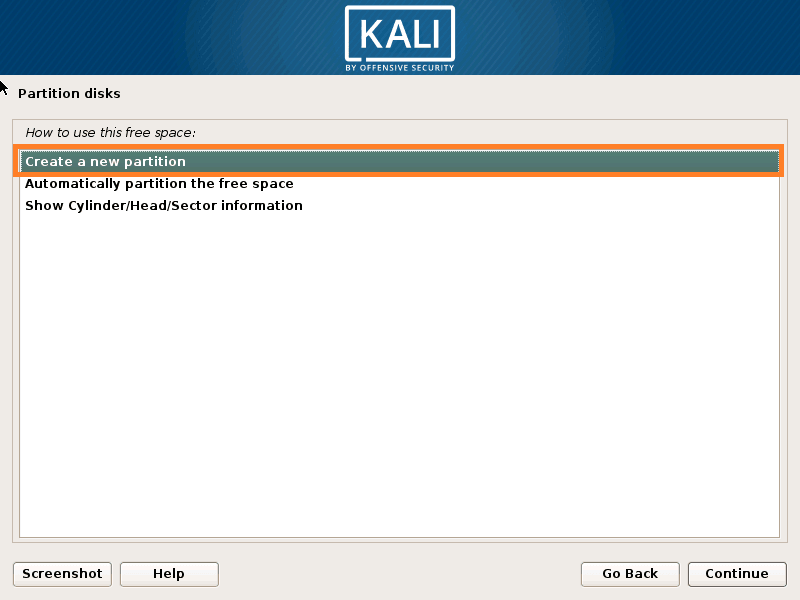
Select create a New Partition
Assign required Space for the Partition. But It is recomended that the size of the Swap partition should be double of your Systems RAM. Here I have 1 GB of RAM in my system, so I am assigning 2 GB to my Swap Partition. Then Click on Continue.

Assign Space for Partition
Select partition type i.e. Primary OR Logical. Here I am selecting Primary. Click on Continue to Proceed for further step.
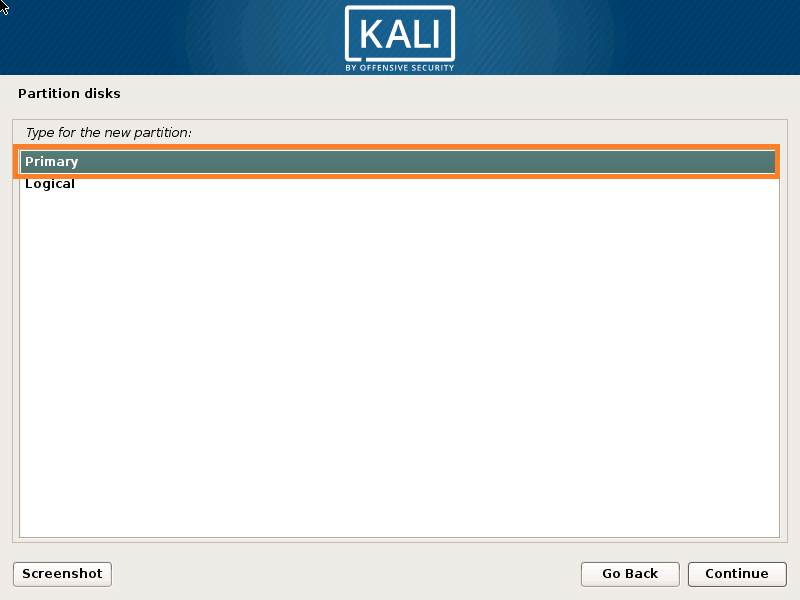
Select Partition Type
Select the Location on Harddisk for the Partition, Here I am selecting Beginning. Then click on Continue.
Select Location for New Partition
Select File System as swap area from File System List as shown on the snapshot below. Then click on Continue.
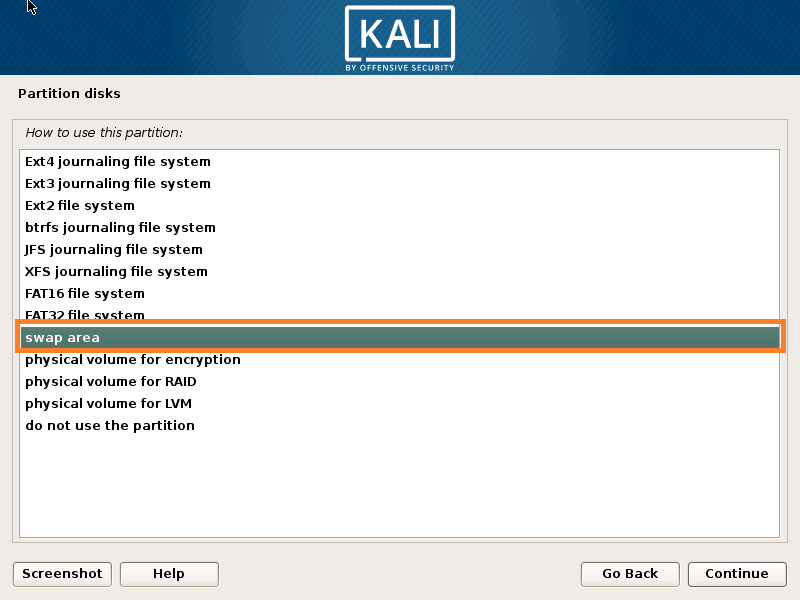
Select Filesystem Type
We have successfully created the Swap partition. Refer the snapshot below. Then click on Continue.

Swap Partition Creation Done
Now select Done setting up the Partition to save the Swap Partition. Then click on Continue.
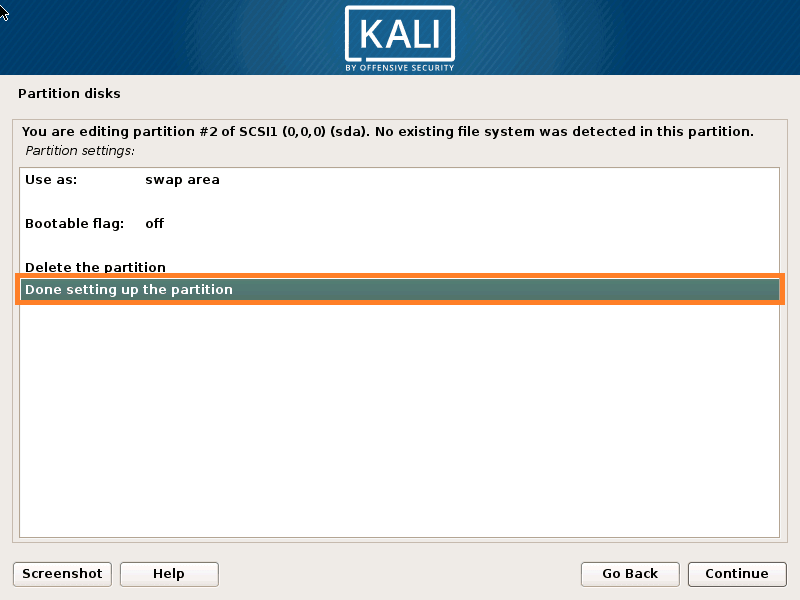
Partition Creation Completed
So we have created Two Partition here i.e. / and swap. Click on Continue.

Partitions
Now select Finish Partitioning and Write changes to disk to save the created partition on Harddisk and then click on Continue.

Finish Partition Creation
Here Select Yes to format created partitions and then click on Continue.

Click Yes to Format the Partitions
Kali Linux Installation is on Progress.
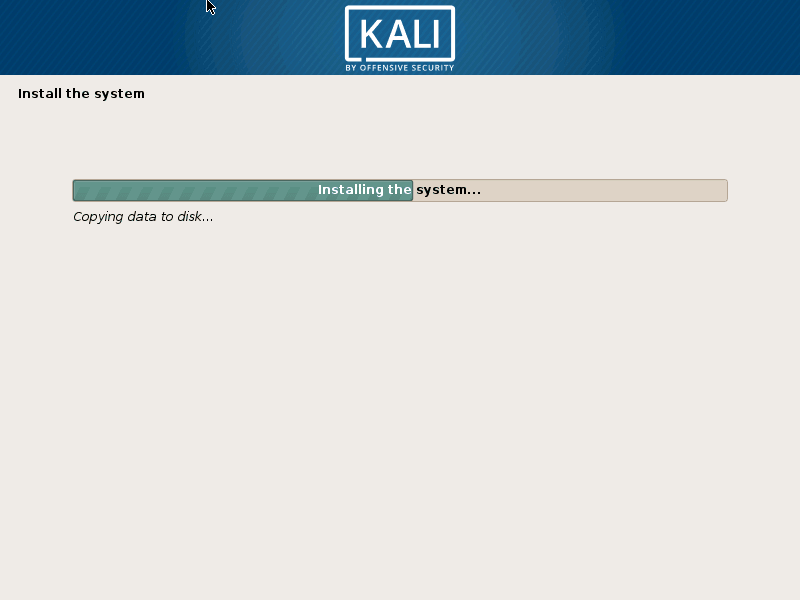
Kali Linux Installation is on Progress
Also Read :
Here there is a option is available for us i.e. Network Mirror. Network Mirror is nothing but a setting by which your packages and repositories will get update from Internet and You can get newer released version of packages and repositories.
So Here if you select Yes then you are allowing System Mirror to Update your Packages, Hence I am going to select Yes and then click on continue.
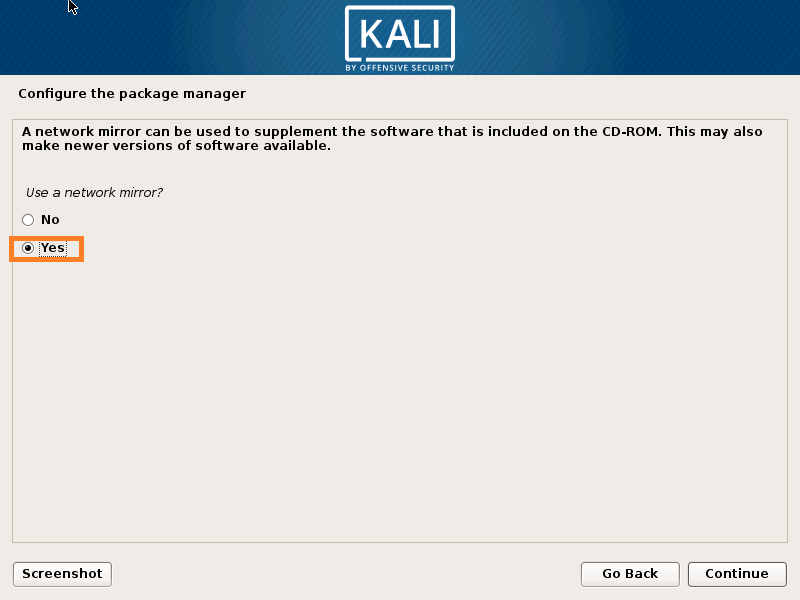
Enable Network Mirror
You can also proceed the Installation further without Network Mirror. To do so just select No as shown on the snapshot below. Then click on Continue.

If you want to continue without Network Mirror
If you have a Proxy Server on your network to access Internet then enter your Proxy Address below. then click on Continue.
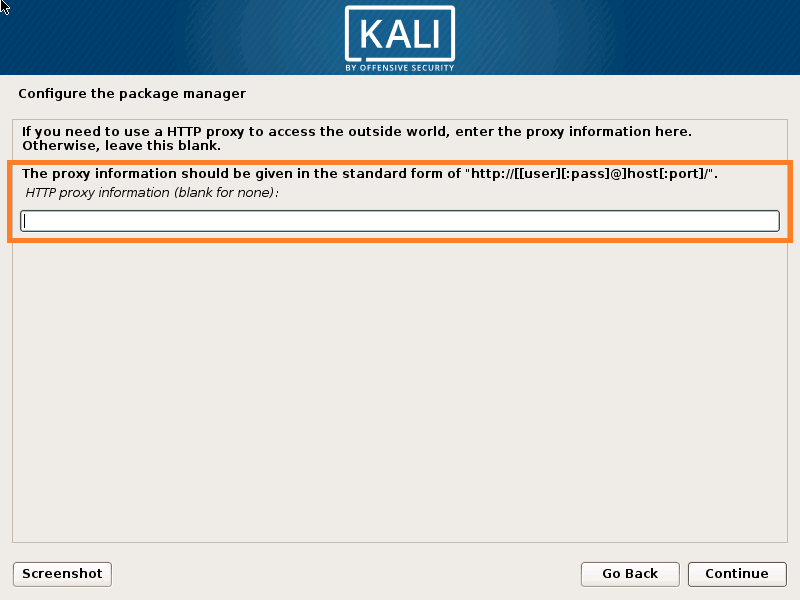
Set Proxy Address
Now Package Manager configuration is on progress.

Kali Linux Installation on Progress
As we all know that the main boot loader of Linux Operating System is GRUB (Grand Unified Bootloader), Here we have to install GRUB boot loader for Kali Linux. So to do so Click on Yes. Then click on Continue.
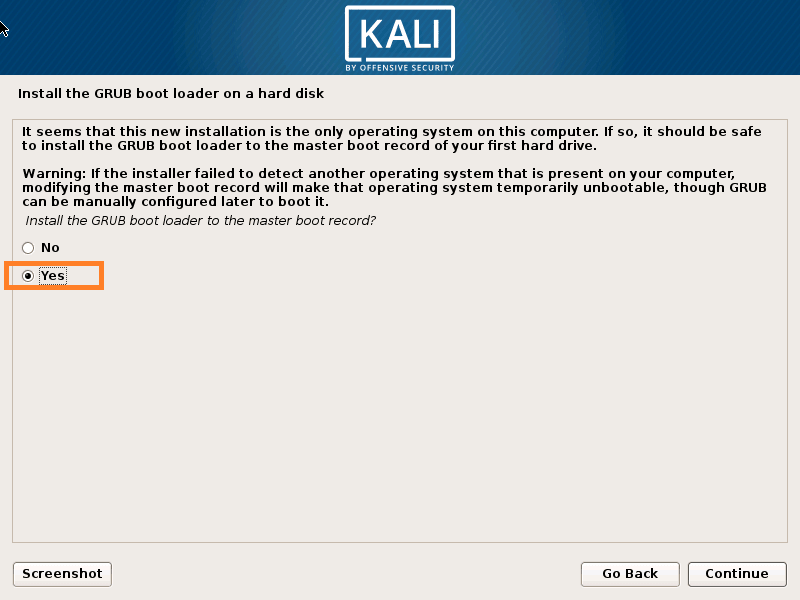
Install GRUB Boot Loader
Here you have to select a device where you want to install the GRUB Bootloader. It is recommended that you should store GRUB Bootloader on Master Boot Record (MBR) of your first harddisk device. Here I am selecting my first harddisk i.e. /dev/sda. Then click on Continue.
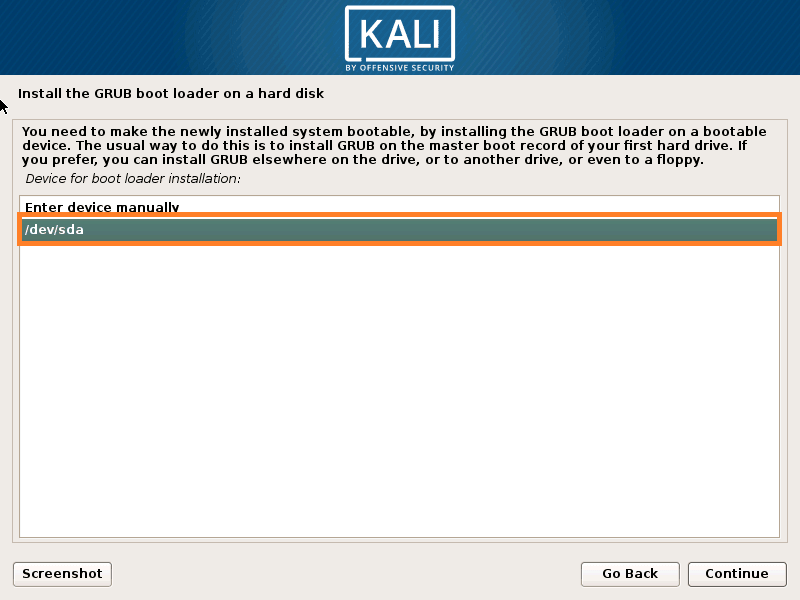
Store GRUB on Partition
GRUB Bootloader is Installing.

Installing GRUB Boot Loader
Click on Continue to Complete the Kali Linux Installation Process.

Finish Kali Linux Installation
Kali Linux Installation process is on progress.
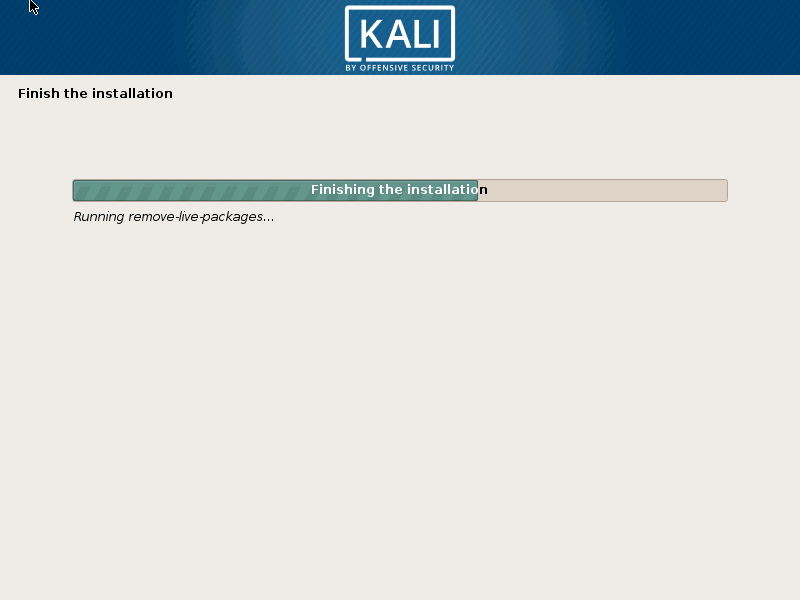
Finishing Kali Linux Installation
Once Kali Linux Installation process completed then you will see a Login screen Where you have to enter the Username and Password to Login the system. Here I am login my Kali Linux as a root.

Enter Username to Login Kali Linux
Enter the Password for root.
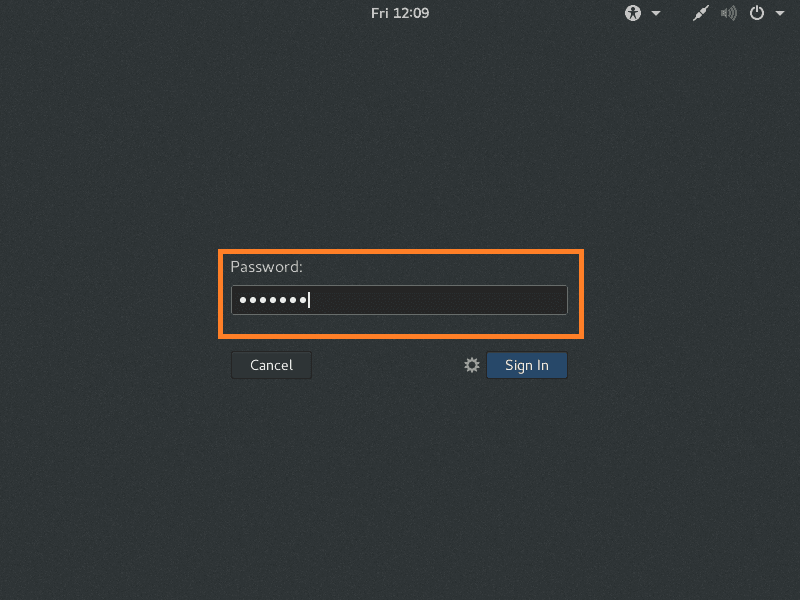
Enter Password to Login Kali Linux
Welcome to Newly released Kali Linux 2017.1
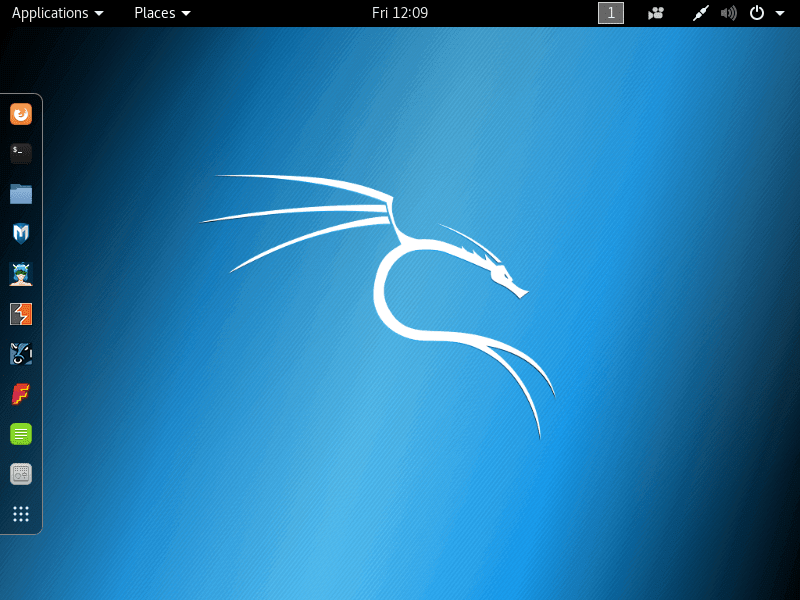
Welcome to Kali Linux
This is how we can install Kali Linux 2017.1. If you found this article useful then Like Us, Subscribe Us or If you have something to say then feel free to comment on the comment box below.