HOW TO INSTALL VMWARE PLAYER 12 ON UBUNTU 16.04
INSTALL VMWARE PLAYER 12 ON UBUNTU 16.04
In this discussion we are going to learn how to install vmware player 12 on ubuntu 16.04. Vmware Player 12 also referred as Vmware Workstation Player is a Virtualization software launched by vmware on year 1998 used for cloud computing, There are so many types of applications are launched by vmware for different needs i.e.Vmware Workstation, Vmware Player, Vmware Server, Vmware GSX Server, Vmware ESX Server and so on. and It’s available for Microsoft Windows, Linux and Mac OS X. The First launch of Vmware is Vmware Workstation and Vmware Player is a Freeware.
The main advantages of Vmware is we can install multiple Operating Systems on a single server, and we can install maximum 16 Virtual Hosts in one server. And Other features are like we can Customize RAM, can add as many Harddisks, Video Capturing, Can take Snapshots, Suspend the Virtual Host and so on, In Today’s Business world vmware plays a very important role and due to this we can save so many cost.
Vmware Player 12 Installation Steps :
Step:1 Prepare for Installation
Before Install Vmware Player 12 package Let’s install/update newer version of packages and their dependencies by using below command.
   elinuxbook@ubuntu:~$ sudo apt-get update   # Update the Packages and Dependencies
   [sudo] password for elinuxbook:
   Get:1 http://security.ubuntu.com/ubuntu xenial-security InRelease [102 kB]
   Hit:2 http://us.archive.ubuntu.com/ubuntu xenial InRelease
   Get:3 http://us.archive.ubuntu.com/ubuntu xenial-updates InRelease [102 kB]
   Get:4 http://us.archive.ubuntu.com/ubuntu xenial-backports InRelease [102 kB]
   Fetched 306 kB in 3s (80.4 kB/s)
   Reading package lists... Done
Now we need to Install some dependencies which is required for Vmware Player 12 Installation, So follow the below steps :
First Install build-essential and gcc as shown below.
   elinuxbook@ubuntu:~$ sudo apt install build-essential gcc
   Reading package lists... Done
   Building dependency tree
   Reading state information... Done
   build-essential is already the newest version (12.1ubuntu2).
   build-essential set to manually installed.
   gcc is already the newest version (4:5.3.1-1ubuntu1).
   gcc set to manually installed.
   0 upgraded, 0 newly installed, 0 to remove and 286 not upgraded.
Then install libcanberra-gtk-module as shown below.
   elinuxbook@ubuntu:~$ sudo apt install libcanberra-gtk-module
   [sudo] password for elinuxbook:
   Reading package lists... Done
   Building dependency tree
   Reading state information... Done
   libcanberra-gtk-module is already the newest version (0.30-2.1ubuntu1).
   libcanberra-gtk-module set to manually installed.
   0 upgraded, 0 newly installed, 0 to remove and 286 not upgraded.
As shown above all required dependencies are already installed with OS, So let’s proceed for Vmware Player Installation.
Note: By Default above Packages and Dependencies are already installed in Ubuntu 16.04, If not then you can install it by following above steps.
Also Read :
- STEP BY STEP TIGERVNC SERVER CONFIGURATION ŌĆō A REMOTE DESKTOP APPLICATION FOR LINUX
- STEP BY STEP SSL CONFIGURATION IN APACHE WEB SERVER
- HOW TO SETUP NFS SERVER (NETWORK FILE SYSTEM) ON REDHAT/CENTOS/FEDORA
Step: 2 Download Vmware Player 12 Package
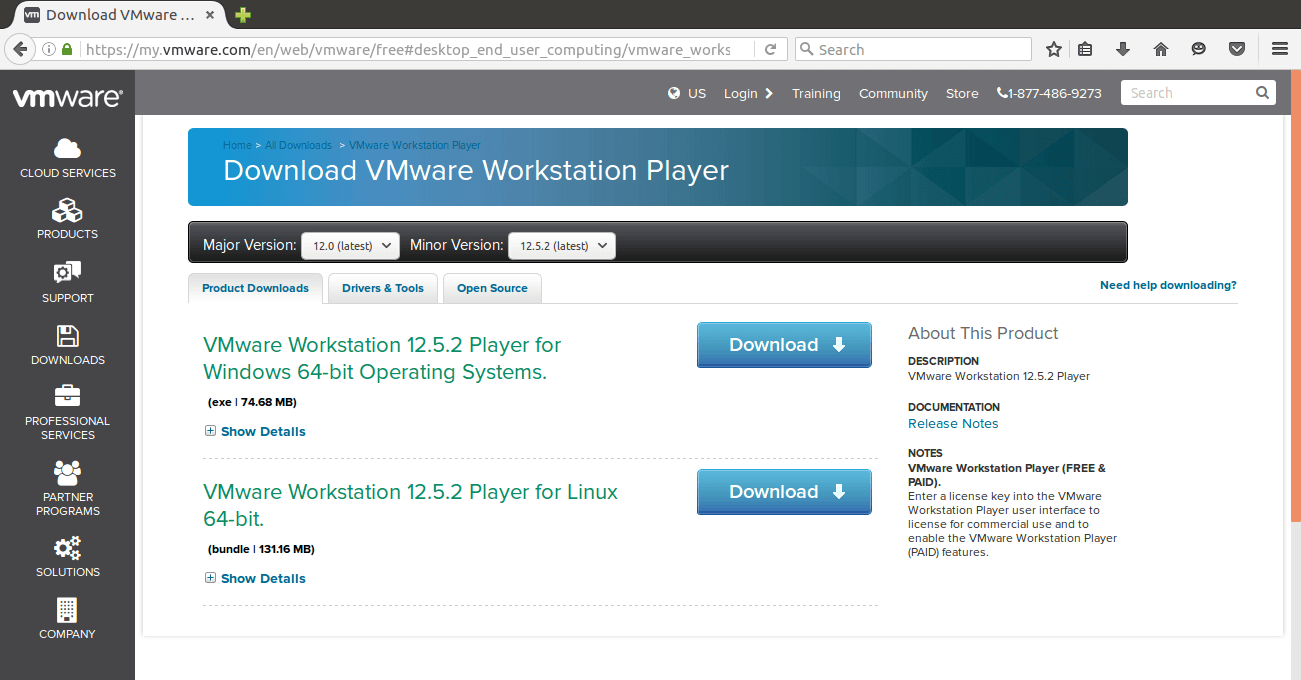
Click on the below link to Download the Vmware Player 12 Package from Official Vmware Website.
As shown below I have Downloaded the Vmware Player 12 Bundle Package, Which is currently don’t have Executive Permission and without that we can’t install the Package, So change the permission by chmod command.
   elinuxbook@ubuntu:~$ cd Downloads/
   elinuxbook@ubuntu:~/Downloads$ ls -l
   total 134308
   -rw-rw-r-- 1 elinuxbook elinuxbook 137530948 Dec 16 20:33 VMware-Player-12.5.2-4638234.x86_64.bundle
Use the below command to give Execution Permission to Vmware Player Bundle Package.
   elinuxbook@ubuntu:~/Downloads$ sudo chmod +x VMware-Player-12.5.2-4638234.x86_64.bundle
   elinuxbook@ubuntu:~/Downloads$ ls -l
   total 134308
   -rwxrwxr-x 1 elinuxbook elinuxbook 137530948 Dec 16 20:33 VMware-Player-12.5.2-4638234.x86_64.bundle
Step : 3 Install Vmware Player 12
As we can see above Now Vmware Player package has Execution Permission, So follow the below step to Start the Installation of Vmware Player.
   elinuxbook@ubuntu:~/Downloads$ sudo ./VMware-Player-12.5.2-4638234.x86_64.bundle
   [sudo] password for elinuxbook:
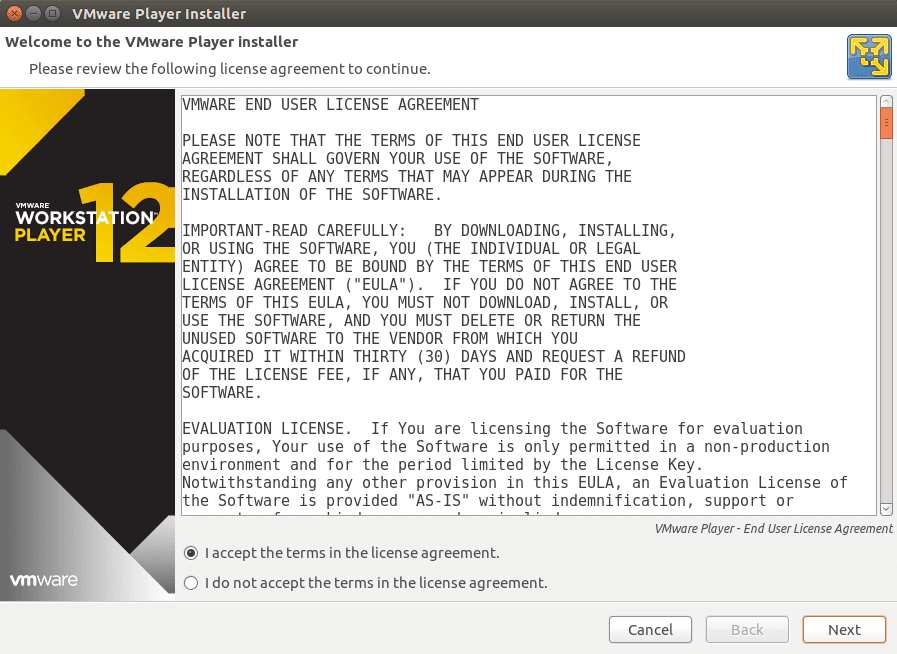
As we can see on the snapshot below The Vmware Player Installation Started and it’s Asking for Accepting the License Agreement to Procees further, So Select I accept the terms in the license agreement and then Click on Next.
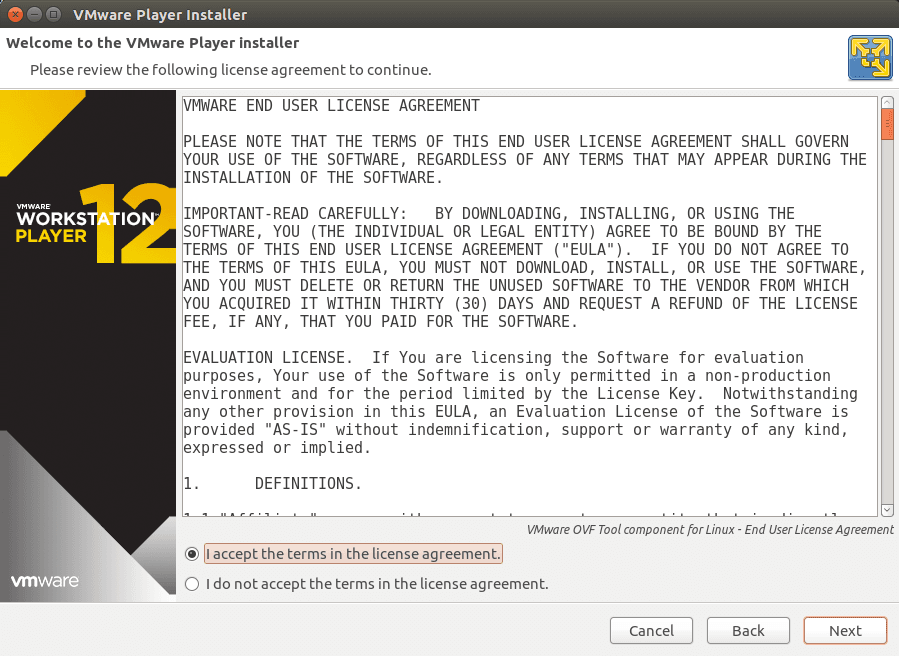
Now on our next installation step It’s again asking for Accept the License Agreement as shown on the snapshot below so select I accept the terms in the license agreement and then Click on Next.
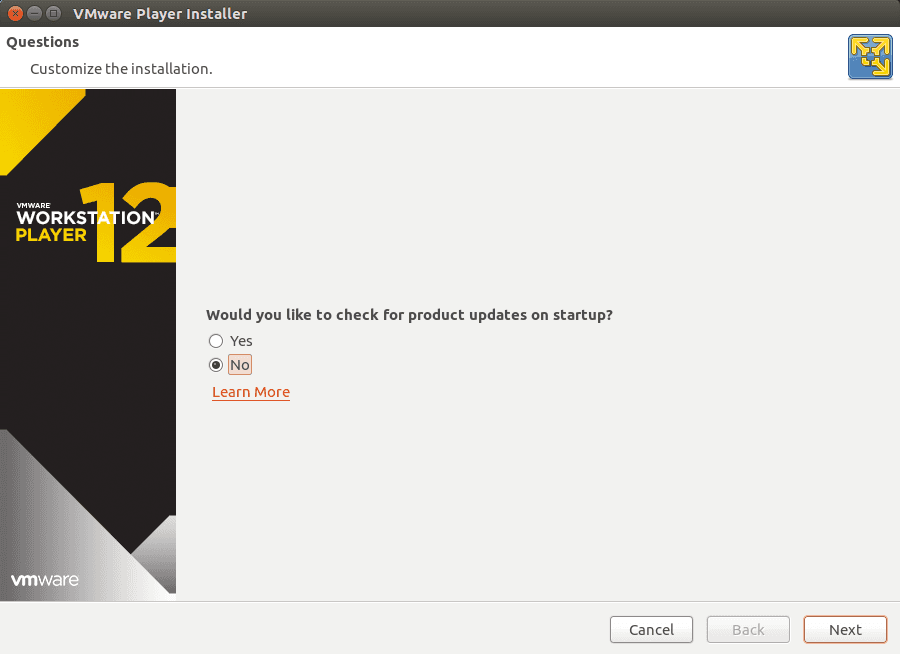
Now Here it’s asking for Product Update on startup. I dont’s want to Update the Package on startup So just select No and Click Next to Proceed for Further Step.
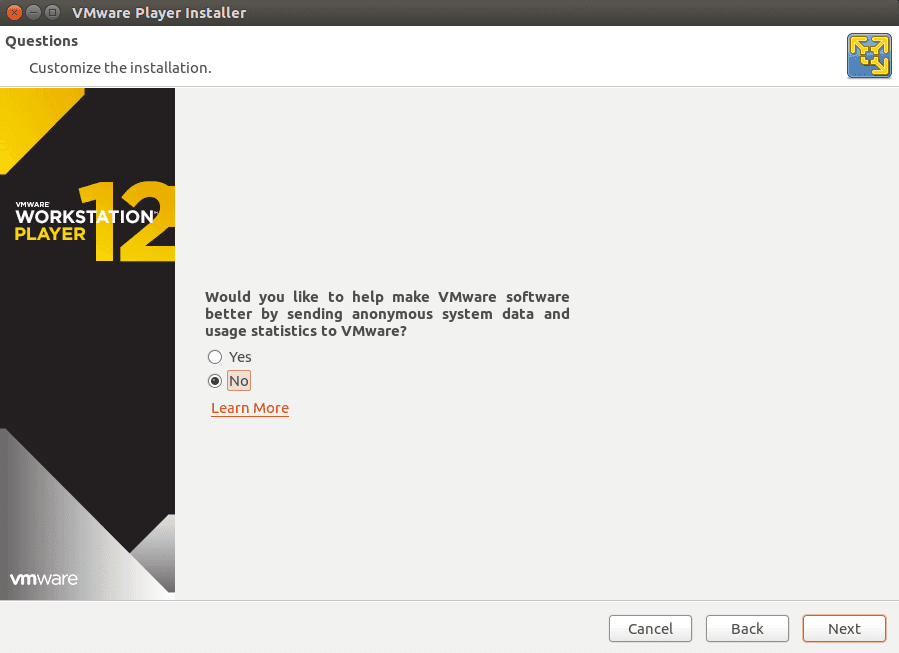
Now on next step of installation its asking for feedback, Here i will select No and Click on Next.
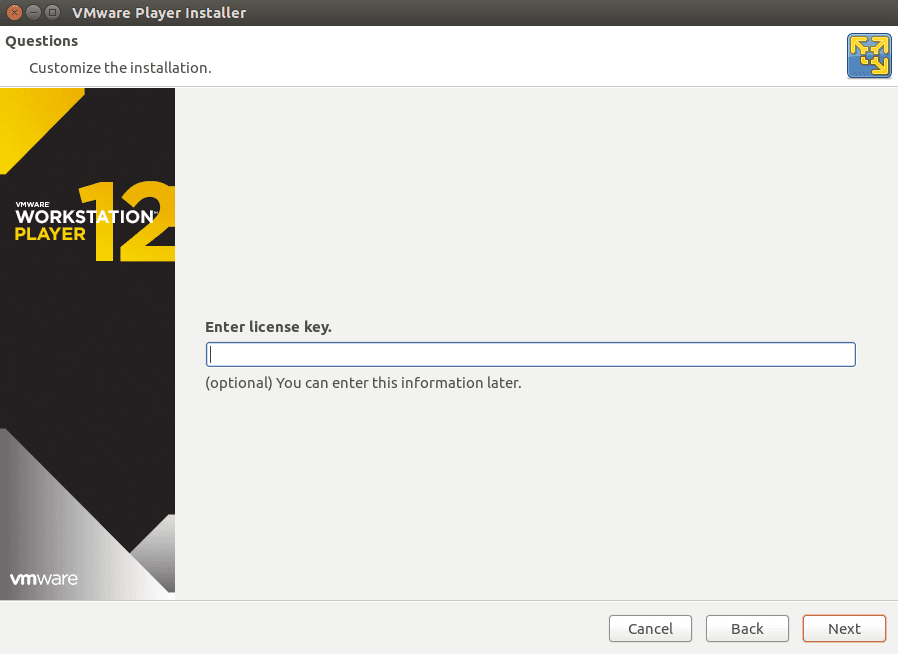
As shown on the snapshot below now it’s asking for License Key But it’s Optional, we can enter it later on. So for now we can Proceed the installation further by Click on Next.
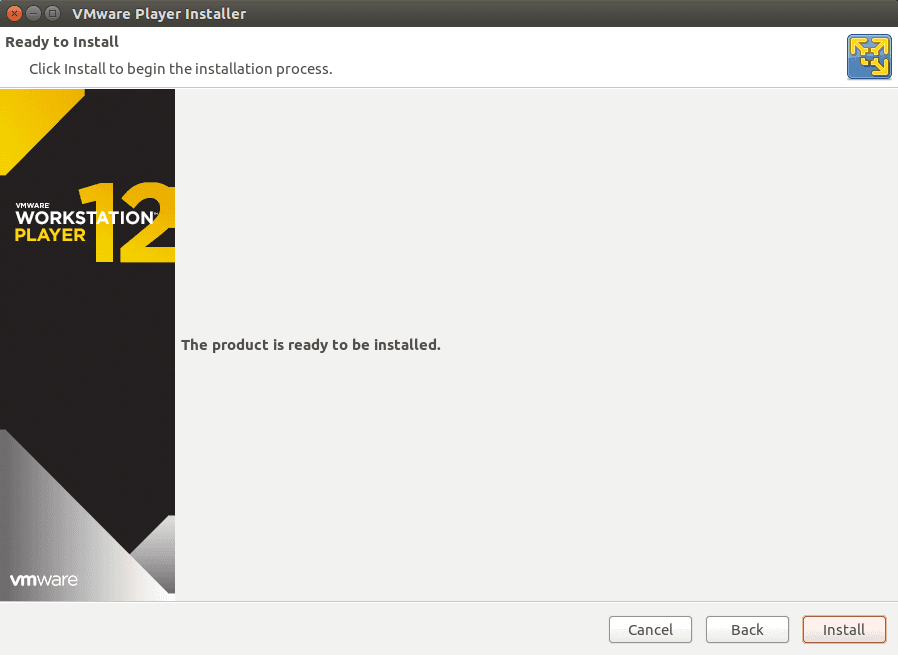
Click on the Install to start the Installation Process as shown on the snapshot below.
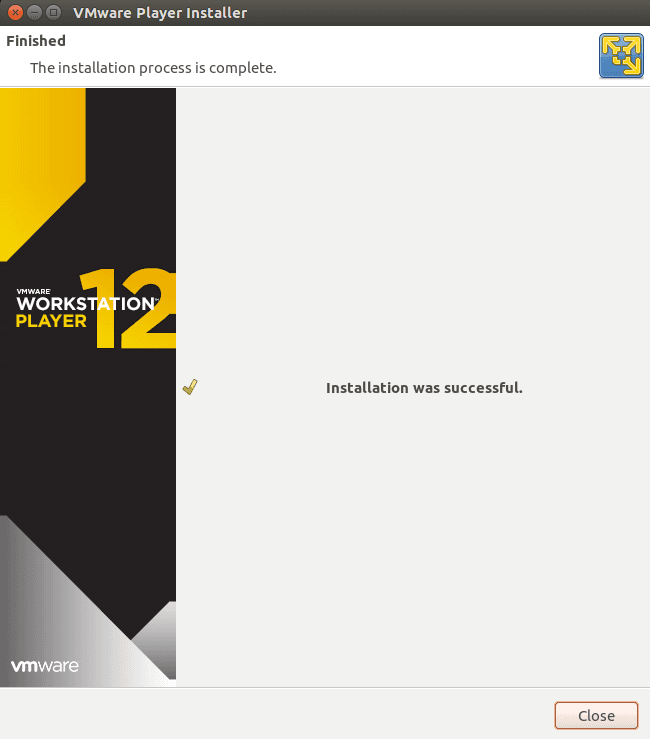
As shown on the snapshot below the Installation Process Completed Successfully, Now Click on Close.
To Open Vmware workstation Player 12 Click on the Application Manager and Search for Vmware Player and then Click on Vmware Player Icon.
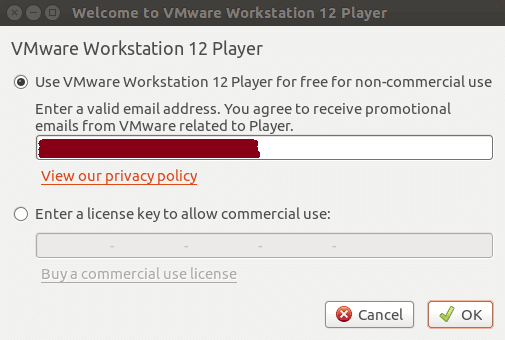
As we are using Free and Non-Commercial Version of Vmware Player Package it’s asking to enter your Email Id, Just Enter it and then Click Ok.
As we can see below Vmware Workstation 12 Player Started.
So This is how we can install Vmware Player 12 on Ubuntu 16.04. If you found this article Useful then Like It, Share It or Subscribe us For Updated Guides and Tutorials.
If you have some thing to say then feel free to Comment on the Comment box below.
